
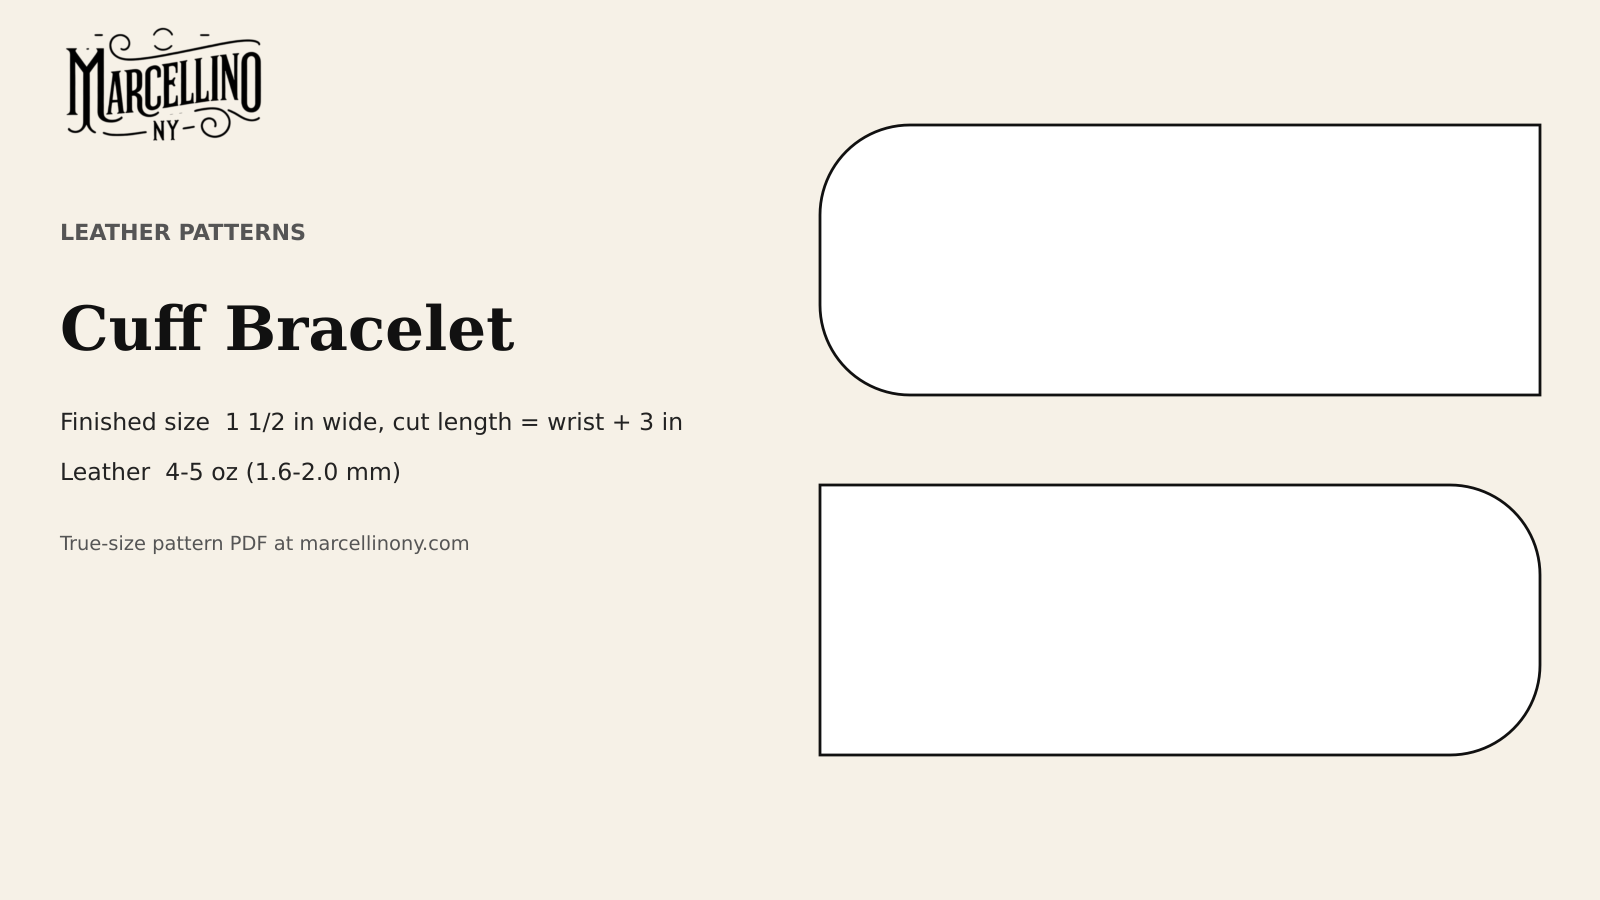
A leather cuff is a strap with two snap holes at each end, and the whole build is arithmetic. Get the length wrong by half an inch and the cuff either slides off the hand or leaves a mark on the wrist. Everything else, the cutting, the snap and the edge, is easy by comparison.
Video: Carving Lines In Bridle Leather Strap For New Crossbody Bag, from Marcellino NY Briefcase Maker on YouTube. Shown for inspiration and technique only: it is not the item in this pattern pack.
Marcellino NY Pattern Pack No. 9
Cuff Bracelet: Printable PDF Pattern
⬇ DOWNLOAD THE PATTERN PACK (PDF)6 pages · US Letter or A4, print at 100% · materials list, true-size pattern, assembly steps, print check
The pattern is a Marcellino NY design that prints at true size in the Marcellino NY Pattern Pack No. 9: Cuff Bracelet, one PDF with a materials list, true-size end templates, a sizing chart, step-by-step instructions and a print-accuracy check. The video above shows lines being carved into a bridle leather strap for a crossbody bag. It is inspiration only for decorating a strap, and it is not the cuff in this pattern.
For a strap that carries a watch instead of a snap, see A Leather Watch Strap on this site.
How long to cut it
The pattern uses the formula from Tandy’s cross-hatch cuff project sheet. Measure the wrist and add 1 inch, and that is the snap-to-snap distance: the span between the two snap positions when the cuff is closed. Cut the strap to that distance plus 2 inches. Tandy’s worked example is a 6 inch wrist, a 7 inch snap-to-snap distance and a 9 inch strap.
Put the two steps together and the cut length is the wrist plus 3 inches. A 7 inch wrist needs a 10 inch strap. A 6 inch wrist needs 9.
The extra 2 inches is the overlap. The snap sits 1 inch from each end, so the two ends lie one on top of the other for the width of the closure before the stud pushes through.
Other makers use other numbers. On a leatherworker.net thread about sizing cuffs, one poster adds 1½ inches to the wrist for a loose fit plus ¾ inch for the snaps, 2 inches in all for thicker leather. The thread also holds a cautionary case: a strap cut at 7¼ inches for a 6.5 inch wrist, with ¾ inch added for overlap and snap height, ended with an inside diameter of about 6 inches by the poster’s own report. Measure the finished loop and not the strap.
| Wrist | 6 in | 6½ in | 7 in | 7½ in | 8 in |
|---|---|---|---|---|---|
| Cut length (wrist + 3 in) | 9 in | 9½ in | 10 in | 10½ in | 11 in |
| Snap-to-snap (wrist + 1 in) | 7 in | 7½ in | 8 in | 8½ in | 9 in |
Tandy’s sheet describes its own pattern as designed for cuffs 7 inches and larger, adjustable in 1 inch steps. The smaller sizes in the chart apply the same formula, and a paper strap is the way to confirm them before cutting leather.
Two stud holes, one adjustment
The pattern gives one socket hole at one end and two stud holes at the other, 1 inch and 1½ inches from the end. That is a Marcellino NY design choice and not a convention taken from Tandy. Moving to the 1½ inch hole takes ½ inch off the loop, so the loose setting equals the wrist plus 1 inch and the snug setting equals the wrist plus ½ inch.
Wrists change with heat, cold and time of day. A second setting costs one more hole and widens the range of days the cuff is comfortable.

The leather and the width
Tandy’s project calls for 4/5 oz vegetable-tanned leather with a Line 24 snap and quotes about three hours to finish. The pattern follows with 4 to 5 oz. At 1 oz to 1/64 inch, that is roughly 1.6 to 2.0 mm, and Leather Weight Explained covers how ounces map to millimetres. Thinner leather tends to flop on the wrist; thicker leather resists the wrap and fights the snap.
Tandy’s cuff is 1½ inches wide and so is this one. Slimmer or wider cuffs only change the width of the strap: 1 inch gives a slim look and 2 inches a wide one, with the hole centred across the width. Nothing in the length formula changes.
Making it
Print the PDF at 100 percent and check the scale square. Cut the strap to length with a steel ruler and a sharp knife. A strap cutter gives a cleaner parallel edge, but a knife and a square will do.
Trace the end templates on both ends and round the corners to the radius shown. Mark the socket hole 1 inch from one end and the two stud holes 1 inch and 1½ inches from the other. Punch them with a hole punch sized to the snap post, and try the punch on a scrap first.
Bevel both long edges and the ends. Sand, dye if wanted, and burnish with gum and a slicker. Sanding Edges Before You Burnish sets out the order. A cuff has two long edges that rub against skin, so they repay the effort.
Set the cap and socket on the socket end with the cap on the grain side. Set the stud and post on the stud end with the stud on the grain side. When the cuff is closed, the stud pushes into the socket. Setting Rivets and Chicago Screws Cleanly covers the same mallet-and-setter technique.

Snaps and where the strain falls
The closure takes the load. When the cuff is pulled on or off, the stud and socket carry the force, and 1 inch of leather between the hole and the end of the strap is the margin that keeps the snap from tearing out. That is why the pattern holds the holes at 1 inch and not closer. A hole set ½ inch from the end leaves a thin bridge of leather at the exact point that is loaded every time the cuff closes.
Tandy’s project uses a Line 24 snap in nickel plate, one set per cuff. A Line 24 snap has four parts: the cap and socket on one end, the stud and post on the other. The post goes through the punched hole and the cap or stud is set over it. Set it with the correct setter and a mallet on a solid surface. A crooked set shows from across a room and a loose one rattles.
The second stud hole follows the same rule. At 1½ inches from the end it still leaves a full inch of leather beyond the first hole, so a cuff worn on the snug setting is not carrying more strain than one worn loose.
Test the closure before wearing. Snap it shut, pull the ends apart with moderate force and check for movement in the set. A snap that moves can be reset once. A snap that has been set and removed twice has damaged the leather around it, and the better repair is to cut the cuff back and punch new holes.
Forming the curve
A flat strap wears flat. Vegetable-tanned leather can be formed. Dampen the strap lightly, wrap it around a bottle or wrist form of the right size, snap it shut and let it dry overnight. The leather keeps most of the curve.
Do not soak it. Water marks vegetable-tanned leather, and a damp cloth wrung out and wiped over the flesh side is enough.
Decoration is optional and happens before forming. Lines can be carved into the grain with a swivel knife, stamped with a border tool or left plain. Plain bridle leather burnished and left alone makes a good cuff.

Checking the fit
Wrap the finished cuff around the wrist and fasten the loose stud hole first. Slide it over the hand if it must go over the hand, and check how far it rotates on the wrist. If it spins freely, move to the snug hole. If it leaves a mark on the skin after an hour, the strap is too short and a longer one is the answer. A cuff that is too long can be shortened by cutting the stud end back and punching new holes, but a cuff that is too short cannot be lengthened, which is the reason to cut long and trim.
The paper test is worth the five minutes. Cut a strip of stiff paper 1½ inches wide and as long as the chart gives for the wrist, mark the hole positions with a pencil, then wrap it and tape the ends at the marks. Paper has no stretch, so it shows the loop honestly. If the loop reads right on the wrist, the same measurements go onto the leather without surprises. If it reads wrong, the correction costs a strip of paper and not a piece of leather.
No part of this pattern was test-cut in leather before publication. The length formula comes from Tandy’s published cuff and the second stud hole is a Marcellino NY addition, so measure the wrist twice and cut a paper strap to length first. Wrap it, tape it and check the loop.
Marcellino NY Pattern Pack No. 9
Cuff Bracelet: Printable PDF Pattern
⬇ DOWNLOAD THE PATTERN PACK (PDF)6 pages · US Letter or A4, print at 100% · materials list, true-size pattern, assembly steps, print check
Sources
- Instructables (Tandy Leather), Leather Cuff Bracelet with a Crosshatch Design: https://www.instructables.com/Leather-Cuff-Bracelet-With-a-Crosshatch-Design
- Tandy Leather, cross-hatch cuff project sheet (PDF): https://cdn.shopify.com/s/files/1/0611/5809/7036/files/leather-cuff-with-cross-hatch-design.pdf
- Leatherworker.net, sizing cuff bracelets: https://leatherworker.net/forum/topic/14018-sizing-cuff-bracelets
- Video: Marcellino NY Briefcase Maker on YouTube, https://www.youtube.com/watch?v=Y_p9Vwt7QEs
You might also like
- A Leather Watch Strap
- Setting Rivets and Chicago Screws Cleanly
- Leather Weight Explained: Ounces, Millimeters and Irons
- Sanding Edges Before You Burnish


