
A belt is one long strip of leather with a buckle at one end and a row of holes at the other, and it is the easiest thing in this series to cut and the easiest to get wrong. The mistakes are all in the arithmetic. Measure from the wrong place and the belt comes out two inches short, and no amount of conditioning stretches it back.
Video: Punching Buckle Holes on Briefcase Shoulder Strap, from Marcellino NY Briefcase Maker on YouTube. Shown for inspiration and technique only: it is not the item in this pattern pack.
Marcellino NY Pattern Pack No. 3
Belt: Printable PDF Pattern
⬇ DOWNLOAD THE PATTERN PACK (PDF)5 pages · US Letter or A4, print at 100% · materials list, true-size pattern, assembly steps, print check
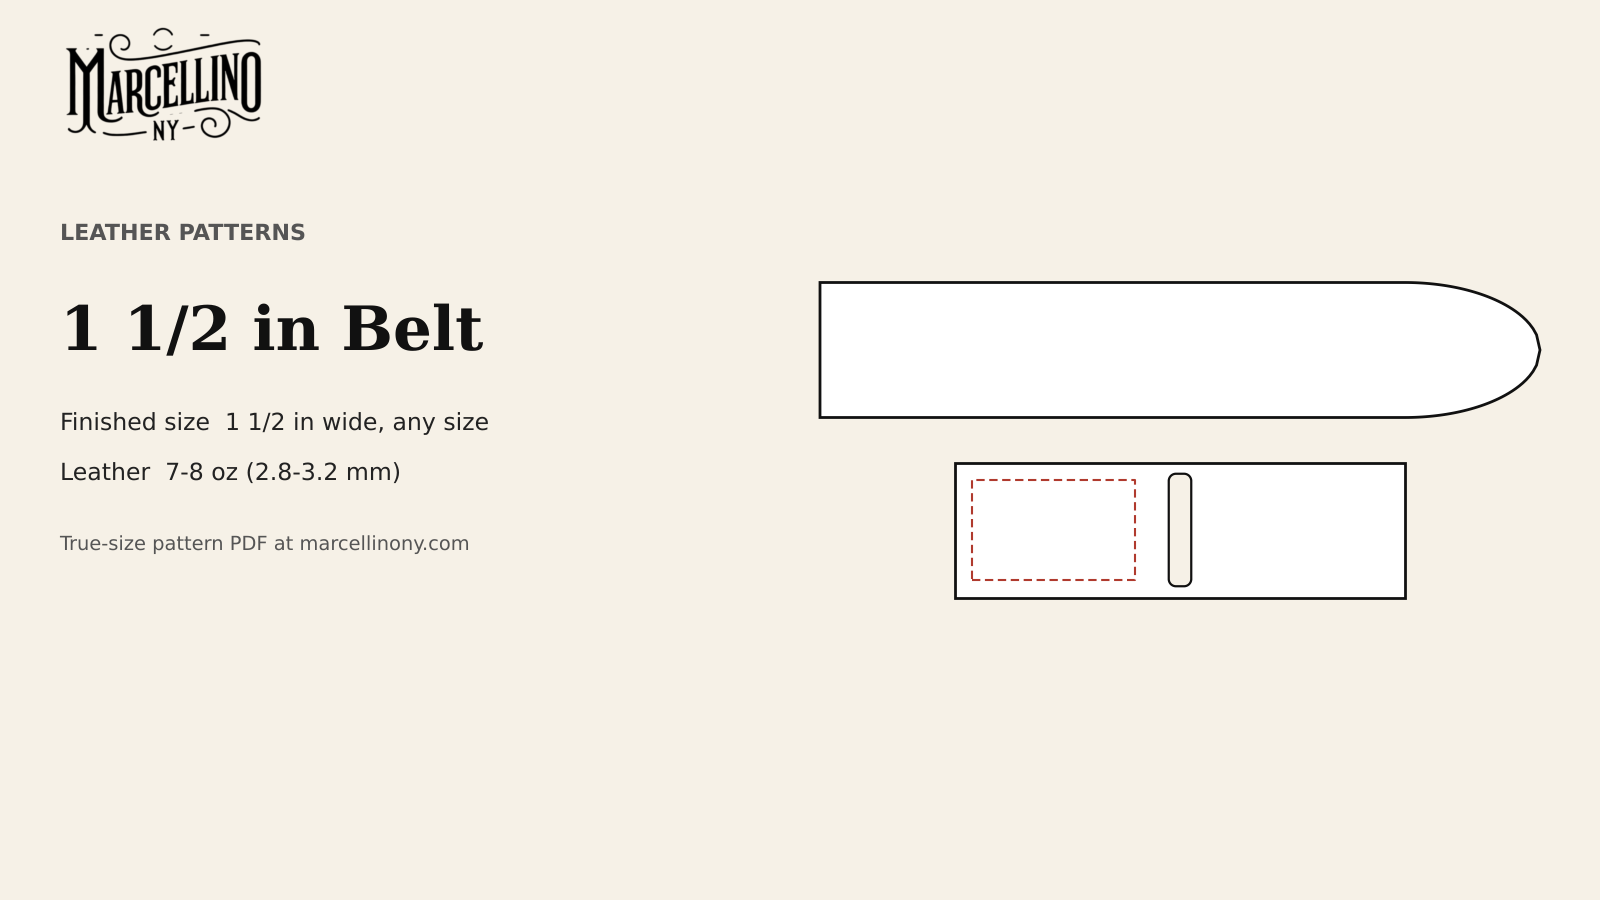
The pattern is a Marcellino NY design that prints at true size in the Marcellino NY Pattern Pack No. 3: Belt, one PDF with materials, true-size pattern pages, assembly steps and a print-accuracy check. It gives a tip template, a buckle-end template, a keeper and a cut-length chart for belt sizes 30 through 44. For a bridle belt built without a pattern sheet, there is a separate post, A Bridle Leather Belt, Start to Buckle. This one is the numbers-first version.
How belt size is measured
Belt size is not waist size. Belts.com gives two ways to find it: measure around where the belt sits and add 2 inches, or lay a belt that fits flat and measure from the fold, where the buckle meets the leather, to the hole in use. Their sizing page adds that the measurement runs from the fold to the center hole and does not include the buckle, and that on a five-hole belt the center hole is the third one.
The pattern follows the same convention:
- Belt size = pant waist plus 2 inches
- Fold to center hole = belt size
- Fold to tip = belt size plus 5 inches
- Cut end to fold = 2½ inches (the lap that wraps the buckle bar)
Add those together and the cut length of the strap is the belt size plus 7½ inches. A size 36 belt is cut from a strap 43½ inches long.
| Belt size | 30 | 32 | 34 | 36 | 38 | 40 | 42 | 44 |
|---|---|---|---|---|---|---|---|---|
| Cut length (in) | 37½ | 39½ | 41½ | 43½ | 45½ | 47½ | 49½ | 51½ |
| First hole from fold (in) | 28 | 30 | 32 | 34 | 36 | 38 | 40 | 42 |
| Last hole from fold (in) | 32 | 34 | 36 | 38 | 40 | 42 | 44 | 46 |
Five holes, one inch apart, centered on the belt size. For a size 36 that puts the holes at 34, 35, 36, 37 and 38 inches from the fold, and the middle one is the size. Because the holes run from two inches under the size to two inches over it, the same belt covers a waist one size down in the first hole and one size up in the fifth. If you are making one for yourself, measure a belt you already wear rather than trusting the pant rule. The rule gets a person to within an inch or two. A belt that already fits gets you to the hole.
Two more things to know before cutting. If you measure an old belt, start the tape at the fold and not at the tip; Size.ly warns that measuring from the tip overstates the size by several inches and is the most common reason a belt arrives too big. And if the number comes out odd, round up to the next even size, since belts are sold and cut in even sizes. A buckle also adds length once the belt is fastened. David Morgan, a belt maker, says normal buckles add between 1 and 2 inches to the total of belt plus buckle, which is why the sizing convention leaves the buckle out of the count.
Leather, width and buckle
Belts take heavier leather than the other patterns in this series. Tandy’s weight chart puts 7 to 8 oz at 7/64 to 1/8 inch (2.8 to 3.2 mm) and lists heavy belts and holsters among its uses; it lists 5 to 6 oz for medium belts. The pattern uses 7 to 8 oz because a belt is working leather. It takes the whole load of a pair of trousers with the buckle pulling in one direction for a day.
Width is 1½ inches, to suit a buckle with a 1½ inch inside frame. Measure the inside width of the buckle, not the outside, before you cut. Cut the strap to that inside width, and the belt will seat in the frame without a gap on either side.
Cut the strap from the bend, the butt section of the hide where the fiber is tightest. The belly goes in the trash. A belt hangs its whole length from one pull, and the tight fiber is what you want in that pull.

Cutting the strap and the tip
Cut the strap with a strap cutter or with a knife against a steel ruler, in several passes. The cut edges need to be parallel along the whole length: a belt is 40 inches of a straight line, and a quarter-inch drift from one end to the other shows. The post on cutting straight lines in thick leather covers the method.
The tip template on the pattern sheet is 8 inches long and shows the tip shape and the five holes. The holes are 3/16 inch in diameter and sit at 3, 4, 5, 6 and 7 inches from the tip. Trace it onto card stock. Lay it on the end of the strap, mark the tip shape and the hole centers, and cut. Check which end you are marking before the knife touches it. Marking the buckle end by mistake is easy, and nothing erases a cut.
Punch the five holes with a rotary or drive punch sized to 3/16 inch. Rotary punch or drive punch for strap holes explains the choice. Hold the strap on a firm surface, punch cleanly through, and check the hole spacing against the template before moving on.
The buckle end
The buckle end is where the belt is made or lost. Cut a prong slot ¼ by 1¼ inches centered on the fold line, 2½ inches from the cut end. This slot is what the prong passes through. Fold the strap at the center of the slot, so the cut end lies back along the belt.
The lap, those 2½ inches of doubled strap, is held down with stitching. On the pattern the stitch line is a rectangle 3/16 inch inside the cut end and both sides, stopping ½ inch short of the fold so the buckle bar has room to move. That comes to about six inches of stitching, around 38 stitches with a 4 mm chisel, which gives about 6½ stitches per inch.
Glue the lap, dry-fit first. Clamp it. Punch through both layers. Two layers of 7 to 8 oz leather is a lot of leather for a chisel, and Lee Valley notes that in thick hide the chisel may need to be followed by an awl to finish the holes. The belt is stitched with the same 4 mm chisel as the luggage tag, at a wider margin of 3/16 inch.
Thread length is 3½ to 4 times the stitch line per Art of Manliness and Weaver Leather Supply. For six inches of stitching that means 24 inches at the long end of the range, and I cut more on a belt, because two layers of 7 to 8 oz drag on the thread with every pass.
Hand stitching beats a rivet at this lap, and I will say so even though the rivet is faster. A rivet puts the load on one point of the leather, and a row of stitches shares it between forty. Then the argument turns on me: the keeper sees almost no load, and a single small rivet there is quicker and holds fine.

The keeper and the finish
The keeper is a strip of 3 to 4 oz leather about ¾ inch wide. The pattern pack gives a 5 by ¾ inch blank that is trimmed to fit, because the right length depends on the thickness of the belt and how tight the loop sits. Grit and Dictum both cover belt keeper construction and sizing. Wrap the blank around the strap and tail together, folded double as worn. Mark an overlap of about ½ inch, trim, thin the overlap with a skiving knife, glue it and stitch it on the back. The finished loop slides on from the tip and sits about ¾ inch past the end of the lap stitching. The post on replacing a worn buckle or keeper is useful if you are fitting a new one to an old strap.
Finish the edges all the way down. A belt has two long edges and a tip, and they get handled every day. Sand, bevel both sides, wet with water or gum tragacanth, and burnish with a slicker or a wood roller until the edge shines. Sailrite’s edge guide covers the sequence. If you dye the edge, do it before burnishing, since gum tragacanth seals the edge against dye.
Bevel the long edges before you stitch the lap, and burnish the lap edge after, so the folded end has the same finish as the rest.
Checking the fit
Fasten the belt on the center hole and measure from the fold to that hole. It should read the belt size to within an eighth of an inch. If it does not, the likely cause is a wrong lap or a hole punched from the wrong end of the tip template.
Wear it for a few weeks before judging the hole you land on. Undyed vegetable-tanned leather darkens with sun and hand oil, and a belt gets plenty of both.

Marcellino NY Pattern Pack No. 3
Belt: Printable PDF Pattern
⬇ DOWNLOAD THE PATTERN PACK (PDF)5 pages · US Letter or A4, print at 100% · materials list, true-size pattern, assembly steps, print check
Sources
- Belts.com, how to measure belt size: https://belts.com/how-to-measure-your-belt-size
- Belts.com, find your size: https://belts.com/find-your-size
- Tandy Leather, leather weight and thickness chart: https://tandyleather.ca/blogs/tandy-blog/leather-weight-thickness-chart
- Lee Valley, leather-stitching chisels and awl sets: https://www.leevalley.com/en-ca/shop/tools/hand-tools/chisels/specialty/76712-leather-stitching-chisels-and-awl-sets
- Art of Manliness, how to sew leather: https://www.artofmanliness.com/skills/craftsmanship/how-to-sew-leather-and-other-tough-materials/
- Weaver Leather Supply, how to hand sew leather: https://www.weaverleathersupply.com/pages/how-to-hand-sew-leather
- Grit, craft a leather belt: https://www.grit.com/community/crafts/craft-leather-belt-zm0z1809zcoo/
- Dictum, making personalised leather belts: https://dictum.com/en/blog/tutorials/making-personalised-leather-belts
- Sailrite, how to finish leather edges: https://www.sailrite.com/how-to-finish-leather-edges
- Instructables, how to burnish leather edges: https://www.instructables.com/how-to-burnish-leather-edges
- Video: Marcellino NY Briefcase Maker on YouTube, https://www.youtube.com/watch?v=g_GH5gsB3f0
You might also like
- A Bridle Leather Belt, Start to Buckle
- Replacing a Worn Buckle or Keeper
- Leather Weight Explained: Ounces, Millimeters and Irons
- Rotary Punch or Drive Punch for Strap Holes


